I know that some knitters don’t like working from charts, but I want to show you that they are not so terrible and once you master following a chart you may even prefer them.
How to read a chart:
Lets start with the basics, all right side rows are read from right to left and all wrong side rows are read from left to right. If you are working in the round then all rounds are read from right to left.
Quite often on a lace pattern only the right side rows are shown and the pattern will explain what you need to do on the wrong side rows (this is often the case if WS rows are all purl).
But if the pattern doesn’t fully explain what the chart shows you should be able to tell from where the row numbers are placed on the chart.
So for example this chart has right side rows only, you can tell because the chart only has odd numbers on the right side:

Whereas this chart shows both right side and wrong side rows, you can tell because the chart has numbers on both sides.

A good chart should guide you to which direction you need to follow the chart, always start with the stitch next to the row number.
Chart symbols:
Not all charts will use the same symbols so it is very important to refer to the key. A good chart should be a visual representation of the pattern, so right leaning decreases (K2tog) should have a symbol that leans to the right and left leaning decreases (SSK) should have a symbol that leans to the left. The same goes for yarnovers which are often represented by an O which looks like a hole. Those empty squares are usually knit on the WS but do check.
A key for one of my charts would look something like this:

Before you start to follow the chart:
Before knitting from a chart always, always, read the accompanying instructions which should tell you whether the chart needs to worked once, twice or more, or if the edging stitches are included on the chart.
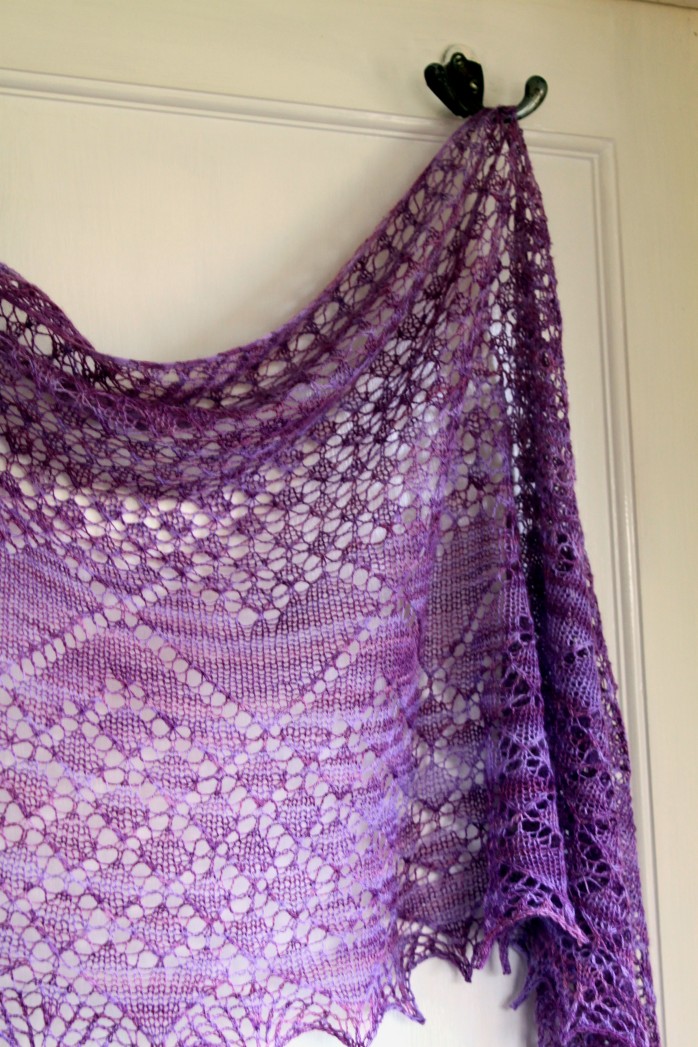
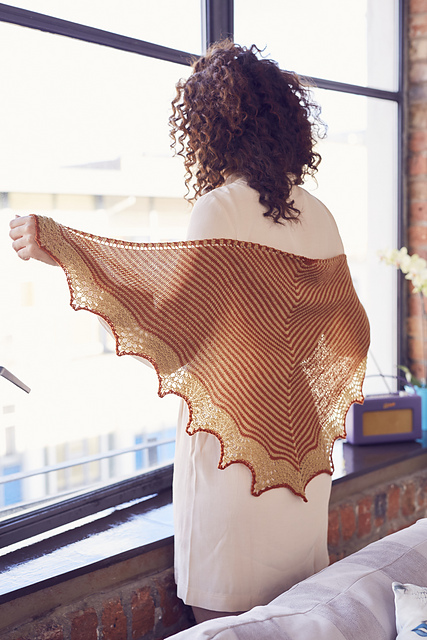
So for example the charts below are for a triangular shawl and the chart needs to be worked twice ever row, also the 3 edging stitches are not included in the chart. This is explained in the pattern like this:
All RS rows: K3, SM, work row of chart to M, SM, K1, SM, work row of chart to M, SM, K3
All WS rows: K3, P to last 3 sts, K3
M is marker and SM is slip marker, the K1 in between the markers in the middle of the instructions is the central spine stitch.
Start knitting:
This is the chart that we will be looking at whilst keeping in mind the row instructions above:

Firstly we know what to do for all WS rows from the instructions so only need to concentrate on RS rows, so remembering the written instructions and reading the first row from right to left row one will be:
Row 1: K3, SM, YO, K3, YO, SM, K1, SM, YO, K3, YO, SM, K3
The instructions taken from the chart are in bold. That was a simple row, so lets look at row 11 as well:
Row 11: K3, SM, YO, K3, YO, SSK, YO, S2KP, YO, K2tog, YO, K3, YO, SM, K1, SM, YO, K3, YO, SSK, YO, S2KP, YO, K2tog, YO, K3, YO, SM, K3
Remember that the chart is worked exactly the same on that row, knit from right to left the first time and exactly the same way the second time.
Repeated sections:
Once you get past the first few rows some charts will then have a section within them that needs to be repeated. The repeat section of the chart is quite often denoted by a thicker or coloured line around it, sometimes by a different method (check the key!) I use a thick red line around repeat sections like this:

If you are used to following written instructions then the repeated section of a chart is the same as following instructions from a *. So for example row 1 of this chart would be:
Row 1: K3, SM, YO, K2tog, YO, *K1, YO, SSK, YO, SSK, K1, K2tog, YO, K2tog, YO, rep from * to last 3sts, K1, YO, K2tog, YO, SM, K1, SM, YO, K2tog, YO, *K1, YO, SSK, YO, SSK, K1, K2tog, YO, K2tog, YO, rep from * to last 3sts, K1, YO, K2tog, YO, SM, K3
Again the instructions taken from the chart are in bold and the chart is worked exactly the same before and after the central stitch.
If you struggle at first with repeated sections count how many stitches are after the repeat and make a note of these on the chart. So on the above chart you repeat the red section until the last 3sts on row 1, the last 4sts on row 3, the last 5sts on row 5 and so on.
‘No stitches’:
Because charts are a visual representation of the knitting you will sometimes encounter ‘no stitch’ on a chart, as a symbol this is often represented by a coloured square. A ‘no stitch’ is basically exactly that, there is no stitch there and you can ignore that little box. Designers use the no stitch to keep the chart pattern straight.
The chart below includes ‘no stitch’ boxes which are represented by the solid blue squares.

So remembering that those blue boxes can be ignored row 1 will read as follows:
Row 1: YO, K1, YO, SSK, K1, K2tog, YO, K2tog, YO, K1, YO, SSK, YO, SSK, K1, K2tog, YO, K1, YO
Remember that although you don’t need to worry about the blue ‘no stitches’ don’t miss any stitches in between the them, so on row 1 don’t forget about that K1 in between those no stitches.
Best practises:
Keeping track of where you are on a chart is important, if you read you knitting pattern on an ipad or similar it’s a great idea to highlight the row you are currently working on. If like me you prefer a printed pattern then use a ruler/ magnetic strip/ sticky note to ‘above line’ the row. Marking above the row you are working on as opposed to below will help you to visualise the pattern better as you can see the previous rows you have just worked. I use a chart keeper from knit picks.
Finally:
Don’t be afraid of charts, start with something simple and practise, I promise that it will get easier and using charts, especially for lace knitting, is an excellent way of learning to ‘read’ your knitting, which is very useful when trying to spot a mistake.
I hope that this has been useful, if you have any questions please do ask in the comments. In the coming months I’ll be adding more tutorials including one on reading cable charts.


You must be logged in to post a comment.